
-
Make Pre-Collection Corrections
To begin making corrections or to cancel an event, go to Scheduling, select Find/Edit Event.
Image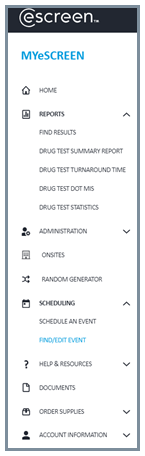 Image
Image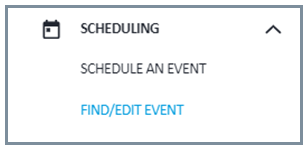
-
Search for Donor to Make Pre-Collection Corrections
Search for the donor by using Last Name or SSN. SSN format example: 000-00-0000. Select the underlined donor name requiring corrections.
Image Image
Image
-
View Collection Information
Once the donor’s name has been selected, the collection information page will be displayed. Select Edit Scheduled Event, located at the bottom of the page.
From this page you can elect to:
- Edit scheduled event: Make Corrections to the Event
- Reprint ePassport: Resend the ePassport to the Donor
- Cancel Event: Terminate the Event
Image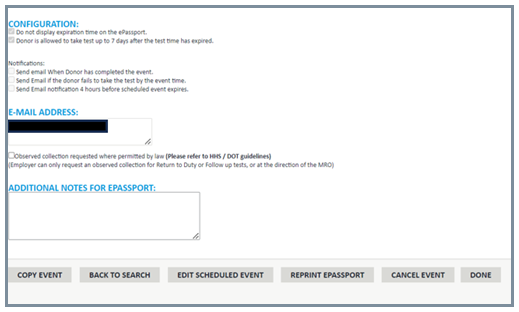
-
Update Collection Site (If needed)
If required, select a new collection site for the donor. Otherwise, continue to the next page.
Select View Details to check the hours of operation and services provided.
Image
-
Edit Collection Information
Sections you can edit:
- Reason For Test
- Type of Test
- Donor Information
Once complete, click Next: Select a Clinic.
NOTE: Employer information cannot be changed. Contact Abbott to update employer information.
Image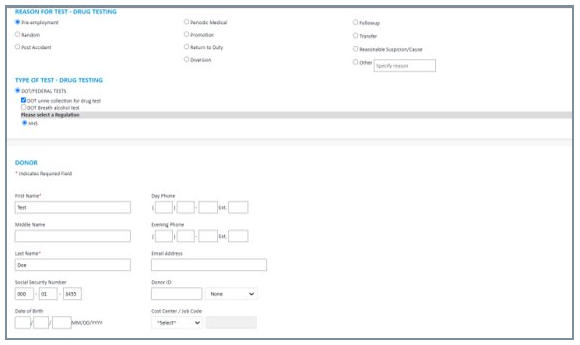
-
Make Corrections
Available Corrections:
- Expiration Date & Time
- Notifications
- Scheduler Contact Information
- Additional Notes for ePassport
Once corrections are complete, select: Confirm Scheduled Event.
Image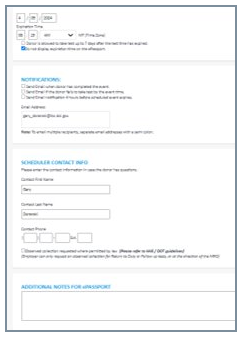
-
Continue Making Corrections
- Input email addresses to send updated ePassport.
- The option to send by text message can be used to send to one phone number.
- Preview the ePassport prior to sending.
Image
-
Terminate Collection Request
Reasons for Terminating a test:
- Offer rescinded/Donor declines the position
- Collection Site error
- Wrong Account selected during scheduling
NOTE: Event can only be terminated with this option prior to the ePassport being scanned in at the collection site.
Image
-
Cancel Event
To terminate the test request, select Cancel Event.
A pop-up window will appear to confirm termination.
Image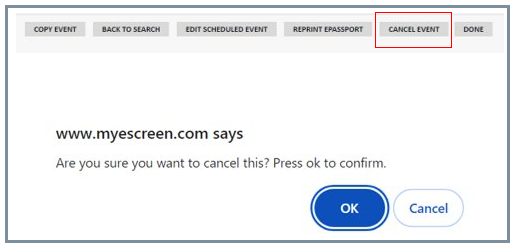
Corrections & Terminations
MYeSCREEN Training Modules